
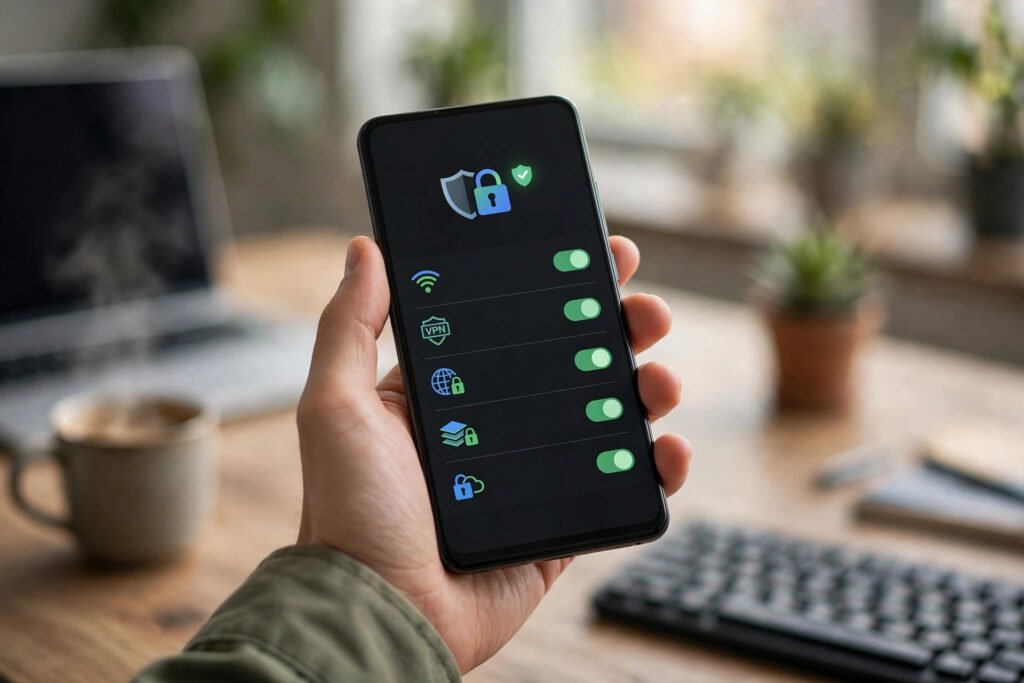
Every time your phone opens a website or an app connects to the internet, it first asks a DNS server to translate the site’s name into an address. By default, your phone uses your internet provider’s DNS, which is often slow, logs your browsing, and offers no protection against malicious sites. Changing your Android DNS settings to a private, faster resolver takes about two minutes — and it can make browsing feel quicker and more private across every app, not just your browser.
This guide explains what DNS does, which settings to use, and how to change it safely on Android in 2026.
What is DNS, in plain language?
Think of DNS as the internet’s phone book. When you type a website name, DNS looks up the number (the IP address) that actually connects you. A slow phone book means every site takes longer to start loading. A phone book that logs everything also means your provider can see a record of the sites you visit, even on encrypted connections.
Switching to a well-known public resolver does not hide your traffic from your provider entirely — they can still see the connections themselves — but it stops them from being your DNS phone book, and it can block known malicious domains before your phone connects to them.
Private DNS vs changing DNS per Wi-Fi network
Android offers two routes. The best one is Private DNS, a system-wide setting that works on Wi-Fi and mobile data alike and encrypts your DNS queries. The older route is changing DNS inside a single Wi-Fi network’s settings, which only applies to that network and is unencrypted. For most people, Private DNS is the right choice: set it once, and it protects you everywhere.
Which DNS provider should you choose?
| Provider | Hostname for Private DNS | Good for |
|---|---|---|
| Google Public DNS | dns.google | Speed and reliability |
| Cloudflare | one.one.one.one | Privacy-focused, fast |
| Quad9 | dns.quad9.net | Blocking malicious domains |
All three are free and run by well-known organisations. Cloudflare and Quad9 emphasise privacy and do not sell query logs; Google’s resolver is famously fast and reliable. For setup details, see Google’s official guide at Google Public DNS setup.
How to change Private DNS on Android
- Open Settings, then Network and internet (on Samsung phones, Connections, then More connection settings).
- Tap Private DNS.
- Select Private DNS provider hostname.
- Type the hostname from the table above, for example one.one.one.one for Cloudflare or dns.google for Google.
- Tap Save.
That is it. No app is needed and no restart is required. Open a browser and load a site to confirm everything still works.
How to check it is working
Visit a DNS test page in your browser, or simply browse normally for a few minutes. If pages load as usual, the setting is working. If nothing loads, you may have mistyped the hostname — re-open Private DNS and check the spelling carefully, since one wrong character breaks the whole setting. If problems persist, switch Private DNS back to Automatic to return to your provider’s default.
Will it make my internet faster?
Possibly, slightly. A faster DNS resolver shaves a small delay off the start of every connection, which adds up across dozens of sites and apps. Do not expect a dramatic speed boost — your actual download speed depends on your connection, not DNS. The bigger wins are privacy, malware-domain blocking (with Quad9) and consistent behaviour across Wi-Fi and mobile data. For other ways to cut data use, see our guide to reducing mobile data usage on Android.
Security notes and honest limits
Private DNS encrypts your DNS queries, which stops snooping on that part of your traffic, but it is not a VPN: it does not hide your IP address or encrypt the rest of your connection. Pair it with good basic hygiene — our guides to Android security settings and app permissions cover the settings that matter most. Also avoid random free DNS services you have never heard of: whoever runs your DNS can see your queries, so stick to providers with a public privacy policy.
Private DNS vs DNS in your browser
Most modern browsers also offer their own “secure DNS” setting, which only protects browsing inside that browser. Android’s Private DNS is better because it covers every app on the phone — messaging apps, email, games and background services — not just web pages. If you have already enabled secure DNS in Chrome, keep both on: they do not conflict, and the system setting covers everything the browser setting misses. The one exception is a work profile managed by your employer, where the organisation may require its own DNS for security monitoring; in that case, leave the work profile’s settings alone.
Common problems
Some apps stop working: a few workplace or banking apps expect the network’s own DNS. Switch Private DNS to Automatic temporarily for those apps. Captive portals (hotel or airport Wi-Fi login pages) fail: set Private DNS to Off until you have signed in, then turn it back on. Parental controls stop working: some family filters work through DNS, so changing it can bypass them — keep the default DNS on a child’s device.
The bottom line
Changing Android’s Private DNS is a two-minute, free, reversible tweak that improves privacy and can speed up the start of every connection. Pick one reputable provider, type the hostname carefully, and test your browsing afterwards. If anything misbehaves, switching back to Automatic restores the original setting instantly.


Pingback: Android Widgets 2026: 10 Worth Adding