
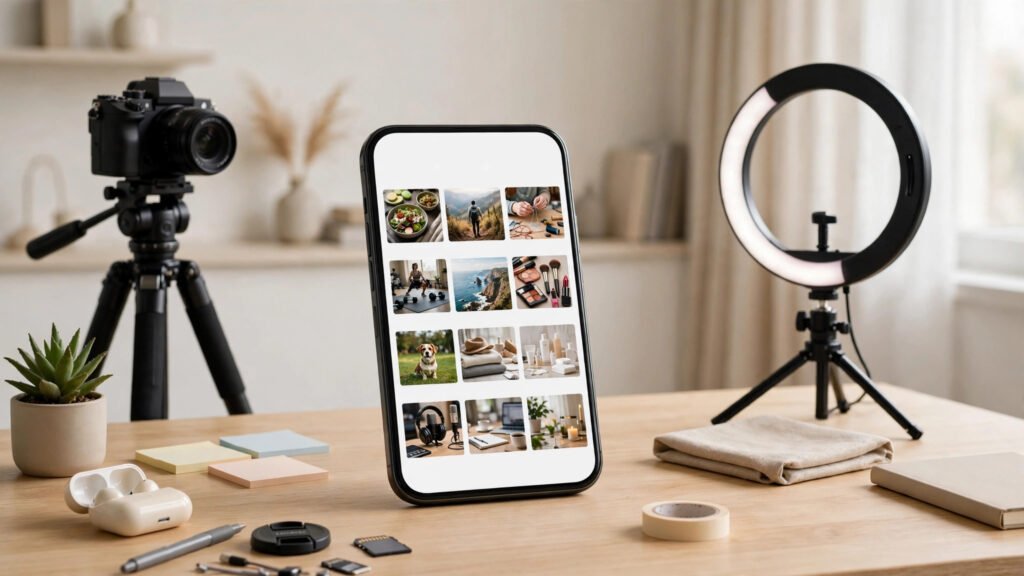
Batch-creating Instagram content means planning several posts, Reels or Stories together instead of starting from a blank screen every day. It can save time and make publishing more consistent, but only if the workflow leaves room for current events, audience questions and content that needs a human check.
This 2026 guide gives you a practical weekly system for planning, filming, editing, writing captions and scheduling content. It also explains what Instagram’s own scheduler can publish, when to use Meta Business Suite, and how to review results without chasing an unrealistic posting quota.
What to batch—and what not to batch
Batch tasks that benefit from doing them together: idea planning, outlining, filming, editing, caption writing, cover design and scheduling. Keep community replies, urgent updates, customer questions and time-sensitive posts flexible.
A practical starter week might include two Reels, one carousel and a few Story frames. You do not need seven feed posts every week. Choose a volume you can produce without lowering accuracy or quality.
Step 1: Plan your content in 30 minutes
- Open Instagram Insights and review the topics, formats and posts that attracted useful responses recently.
- Write down questions your audience has asked in comments, DMs or conversations.
- Choose three to five content ideas that serve a clear purpose: teach, demonstrate, answer, entertain or introduce your work.
- Assign a format to each idea—Reel, carousel, photo post or Story.
- Write a one-sentence promise for each post so the content stays focused.
- Mark any idea that depends on a current trend or date as flexible rather than scheduling it weeks ahead.
Use a simple content-pillar mix. For example, a clinic might publish educational health information, behind-the-scenes explanations and answers to common patient questions. A food creator might mix recipes, local reviews and shopping tips.
Keep an idea list on your phone throughout the week. Add audience questions and observations as they happen, then choose the strongest ideas during your planning session.
Step 2: Outline scripts and carousel slides
Before filming or designing, write a short outline for each piece:
- Opening: what will make the right viewer understand the topic immediately?
- Main points: what are the two or three useful details?
- Proof or demonstration: can you show an example, process or source?
- Next step: what should the viewer do after watching or reading?
For a Reel, write a short spoken outline rather than memorizing a long script. For a carousel, give each slide one job: title, problem, steps, example and final action. Check facts and claims before you record or publish, especially for health, finance and legal topics.
Step 3: Film several videos in one session
- Choose a quiet time and prepare the products, props or demonstrations you need.
- Clean the phone camera lens and place the phone on a stable stand.
- Use soft daylight or a simple light source so the subject is clear.
- Record each video in short sections, leaving a pause before and after each take.
- Capture extra close-ups or demonstration clips that can support the main explanation.
- Record a second take for important sections, but avoid endless retakes.
- Review the footage and mark the best takes before packing away the setup.
You can record in your phone’s camera app or directly in an editing app. A camera app may give you more control over resolution and exposure, while in-app recording can be convenient for certain effects. Choose the method that produces reliable footage on your device.
Step 4: Edit in batches without over-editing
Open your editing app and work through the clips in one session. Remove long pauses, repeated lines and irrelevant footage. Add readable on-screen text where it helps viewers follow the point.
- Keep the opening relevant to the actual video.
- Use captions for accessibility, then proofread names, numbers and mixed-language words.
- Keep music low enough that speech remains clear.
- Use consistent fonts and colours, but do not make every video look identical if the subject needs a different treatment.
- Export a final version and watch it once before scheduling.
There is no universal ideal Reel length. Let the idea determine the length. A short tip may need only a few seconds; a careful demonstration may need more time.
Step 5: Write captions and prepare covers
Write captions after the content is edited, so the text accurately describes what the viewer will see.
- Start with a plain-language summary of the topic.
- Add a useful detail, source, checklist or context that did not fit in the video.
- Use one relevant call to action, not several competing requests.
- Choose a cover frame with a clear subject and readable title.
- Use a small number of accurate hashtags that genuinely describe the content.
- Check mentions, tags, location and accessibility details before publishing.
For cover design, see our guide to Instagram Reels cover photos. For audio choices, read how to find Instagram Reels audio and check that the sound is available for your account and intended use.
Step 6: Schedule posts, Reels and Stories correctly
Instagram’s own in-app scheduler supports photos, carousel posts and Reels for eligible public accounts. Its current Help Center describes a limit of up to 25 scheduled posts per day and scheduling up to 30 days ahead. Some features—such as product tagging, collaborative posts, sponsored posts and fundraisers—may not work with scheduled content.
Schedule a post or Reel in the Instagram app
- Tap Create and choose Post or Reel.
- Select the media and complete the edits.
- Add the caption and other details.
- Open More options.
- Turn on Schedule this post or Schedule this reel.
- Choose a date and time within the available scheduling window.
- Tap Done, return to the sharing screen and tap Schedule.
To manage scheduled content, open your profile, tap Menu and look for Scheduled content under Your insights and tools. Select an item to edit, reschedule, delete or share it now.
Schedule Stories or plan from a computer
For Story scheduling and a desktop calendar, use Meta Business Suite if your Instagram account is connected and eligible. Open Planner or Content, create a Story, select the Instagram destination, then choose the scheduling option and date/time shown. Available options can vary by account and rollout.
Do not assume every format can be scheduled in the Instagram app. Check the publishing route for the specific format before you build your calendar around it.
For a full scheduling walkthrough, see our guide to scheduling Instagram posts natively.
Step 7: Keep a flexible slot for timely content
Do not fill every publishing slot weeks ahead. Leave room for a timely announcement, a relevant trend, a customer question or a correction. If a scheduled post becomes inaccurate or inappropriate because circumstances change, edit or cancel it before it publishes.
For a business account, confirm opening hours, prices, service availability and contact details immediately before publishing. For health or financial content, recheck any advice or statistics that may have changed.
Tools that can help you batch-create
- Notes app: store ideas, hooks and outlines.
- Calendar or spreadsheet: track topic, format, owner, draft status and planned publish date.
- Phone camera: record footage in a consistent setup.
- CapCut or Instagram Edits: edit clips and captions; check paid labels and export options before using premium effects.
- Canva: prepare carousel layouts and covers with reusable brand styles.
- Instagram scheduler or Meta Business Suite: schedule eligible content and review the queue.
- Cloud backup: keep original clips and finished exports backed up, but avoid uploading confidential client or patient information without proper permission.
You do not need all these tools. Start with the apps you already know and add another only when it solves a specific problem.
A realistic weekly batch-creation timetable
| Session | Time guide | What to finish |
|---|---|---|
| Plan | 30 minutes | Choose topics, formats and one clear outcome per post |
| Outline | 30–45 minutes | Reel talking points and carousel slide plan |
| Film | 60–90 minutes | Record several clips and supporting shots |
| Edit | 60–120 minutes | Cut videos, add captions and export final files |
| Publish prep | 30–45 minutes | Captions, covers, links and scheduling |
| Review | 15 minutes | Check published content and note one improvement |
These are planning estimates, not a required schedule. A creator who makes complex tutorials may need more time; a simple photo-based account may need less.
How to review whether batching is helping
Batching should save time without making the content feel generic. After a few weeks, review:
- How long it takes to plan, film, edit and publish.
- Whether scheduled content is accurate and on brand when it goes live.
- Which topics generate meaningful comments, saves, shares or enquiries.
- Whether your posting rhythm is sustainable alongside other work.
- Which tasks could be simplified or removed.
Use Instagram Insights to compare similar posts over a consistent period. Do not assume a particular posting time or number of posts guarantees reach.
Frequently asked questions
1. How many Instagram posts should I batch at once?
Start with three to five pieces of content for one week. Increase the number only if you can maintain accuracy, quality and a manageable workload.
2. Can I batch-create Reels and Stories together?
Yes. You can film supporting clips and prepare Story frames in the same session. Remember that scheduling options differ: the Instagram app schedules photos, carousels and Reels, while Meta Business Suite is the route to check for Story scheduling.
3. Can I schedule Instagram Stories in the Instagram app?
Instagram’s in-app scheduler is documented for photos, carousel posts and Reels. For Stories, use Meta Business Suite if scheduling is available for your connected account.
4. How far ahead can I schedule Instagram posts?
Instagram’s current Help Center describes scheduling up to 30 days ahead and up to 25 posts per day for eligible public accounts. Check the live app because features and limits can change.
5. Do I need a Business or Creator account to schedule Instagram posts?
Instagram’s current in-app scheduler is described for public accounts. Meta Business Suite and third-party tools may have separate account and permission requirements. Check the requirements for the publishing route you choose.
6. What is the best day to batch-create content?
There is no universal best day. Choose a time when you can focus and have access to the products, people or location needed for filming. A regular weekly appointment helps make the workflow repeatable.
7. Should I record videos directly in Instagram?
You can, but you do not have to. The phone camera or a separate editor may provide more control and reusable files. Choose the workflow that gives you clear footage and reliable exports.
8. Does posting every day help Instagram growth?
Daily posting is not a requirement and does not guarantee reach. A sustainable schedule with useful, relevant content is a better starting point than publishing low-quality posts just to meet a quota.
9. How do I avoid making all my posts look repetitive?
Keep a consistent visual identity but vary the format, example, opening and story. Use audience questions and new demonstrations rather than repeating the same template with only a different title.
10. What should I do if a scheduled post becomes outdated?
Open Scheduled content or Meta Business Suite, find the item and edit, reschedule or delete it before publication. Recheck dates, prices, offers and service information close to the publish time.
Final takeaway
Batch-creating works best when it removes repetitive setup—not when it turns your account into an automatic stream of generic posts. Plan a few useful ideas, film and edit together, schedule only the formats supported by your publishing tool, and keep a flexible slot for timely content. Start with three posts this week, review the time saved and build a routine you can maintain.
Pingback: Instagram Reels Drafts 2026: Save & Publish Later
Pingback: Instagram Reels Growth in 2026: Small Creator Guide